Save 30% on a Large Egg package with our special EGGtoberfest demo pricing!

Buy a L or XL Egg Package, Get a Combustion Inc Wireless Predictive Thermometer* - Ends Sept 30th - Shop Now

Some ceramic accessory orders are taking longer than usual. Find what you need today at a local dealer.

Cart 0

Sorry, looks like we don't have enough of this product.

Subtotal Free
View cart
Shipping, taxes, and discount codes are calculated at checkout
adding charcoal to egg

How to Load & Light Your Big Green Egg

ash tool

Step One: Empty Ash

Start with a cool Egg. Open the Draft Door and use a Big Green Egg Ash Tool to clear excess ash from beneath the charcoal grate. Removing ash improves airflow to your fire, helping the Egg come up to temperature.

adding charcoal to egg

Step Two: Add Lump Charcoal

Fill the Egg with Big Green Egg Natural Lump Charcoal, stopping 1/2 to 2 inches below the bottom rim of the Fire Ring. This leaves enough clearance beneath your cooking surfaces for the setup you plan to use.

webversion biggreeneggjmaanmaakblokjes xcad fe

Step Three: Select your Lighting Method

There are several ways to light a Big Green Egg, from the Quick Light Kit to an electric charcoal starter, or natural fire starter. Choose the method that fits your setup and how hands-on you want to be, then follow the instructions below.

A Quick Light Kit tool on a white background
Quick Light™ Kit
Lighting a Large Big Green Egg from below, flame catching at the Quick Light grate through the open bottom vent

Quick Light™ Kit

The Quick Light™ uses a honeycomb-style charcoal grate and stainless starter tool for fast, reliable ignition, less ash buildup, cleaner hands, and more even-burning coals.

1. Get your Egg ready

  • Once the charcoal is loaded, install cooking grid(s).
  • Close the dome.
  • Open the rEGGulator® (top) and Draft Door (bottom) completely.
A line drawing of a Big Green Egg smoker with green arrows indicating airflow or adjustment points, on a plain white background.

2. Light from Below

  • Insert a Twister or SpeediLight® Fire Starter into the Quick Light Tool.
  • With the draft door open, slide the end of the tool into the bottom of the Egg.
  • Light the starter.
A black and white line drawing of a bucket with a handle and a support stand, with a small green highlight over a hinge area.

3. Insert Quick Light Tool into Egg

  • Once starter has ignited, slide the Quick Light Tool into the Egg.
  • The tool’s feet should rest in the metal Draft Door track.
  • Flames will naturally rise upward through the charcoal, lighting your Egg
A line drawing diagram of a grill or smoker with green arrows showing upward steam or heat and a flame symbol inside the chamber, on a plain white background.

Explore the Quick Light™ Kit

A dark green box of Big Green Egg Twisters next to three loose tan fiber feeders on a clean white background.
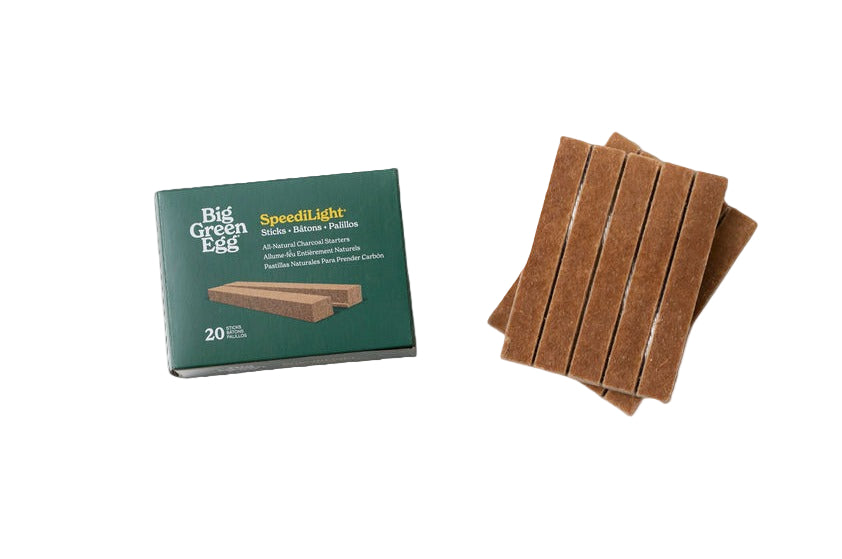
SpeediLight® or Twisters Firestarters 
A box of Big Green Tree Speedilights outdoor flame retardants sits on a dark patio table with a blurred green outdoor chair in the background.

SpeediLight® or Twisters Firestarters

Overview:

SpeediLight® Sticks and Twisters Fire Starters ignite easily and stay lit, making lighting Big Green Egg charcoal fast and straightforward.

1. Bury Starters

  • Partially bury one or two Twisters or SpeediLight® sticks in unlit charcoal.
  • Leave the Dome and Draft Door of your Big Green EGg completely open.
Black and white line drawing diagram of a grill mechanism with a green arrow indicating the lift-up motion of the lid.

2. Light Starters

  • Light the exposed portion of the starter with a stick lighter or extra long match.
  • Once a steady flame is established, reposition or bury the starter deeper in the charcoal.
Black and white line drawing diagram showing a toilet seat lid open, with a hand holding a cleaning tool above the bowl and a green arrow pointing into the bowl.

3. Tend to the Fire

  • Leave the dome open for 7 to 10 minutes while starters are igniting charcoal.
  • A pile of embers will begin to form in the area immediately surrounding the starter(s).
Black and white line drawing of a grill or smoker with the lid open, showing the interior bowl and lid mechanism, with small green flame icons above the cooking chamber.

Explore SpeediLight® Sticks

Explore Twisters Firestarters

Metallic electric starter tool with a black handle and cord on a white background
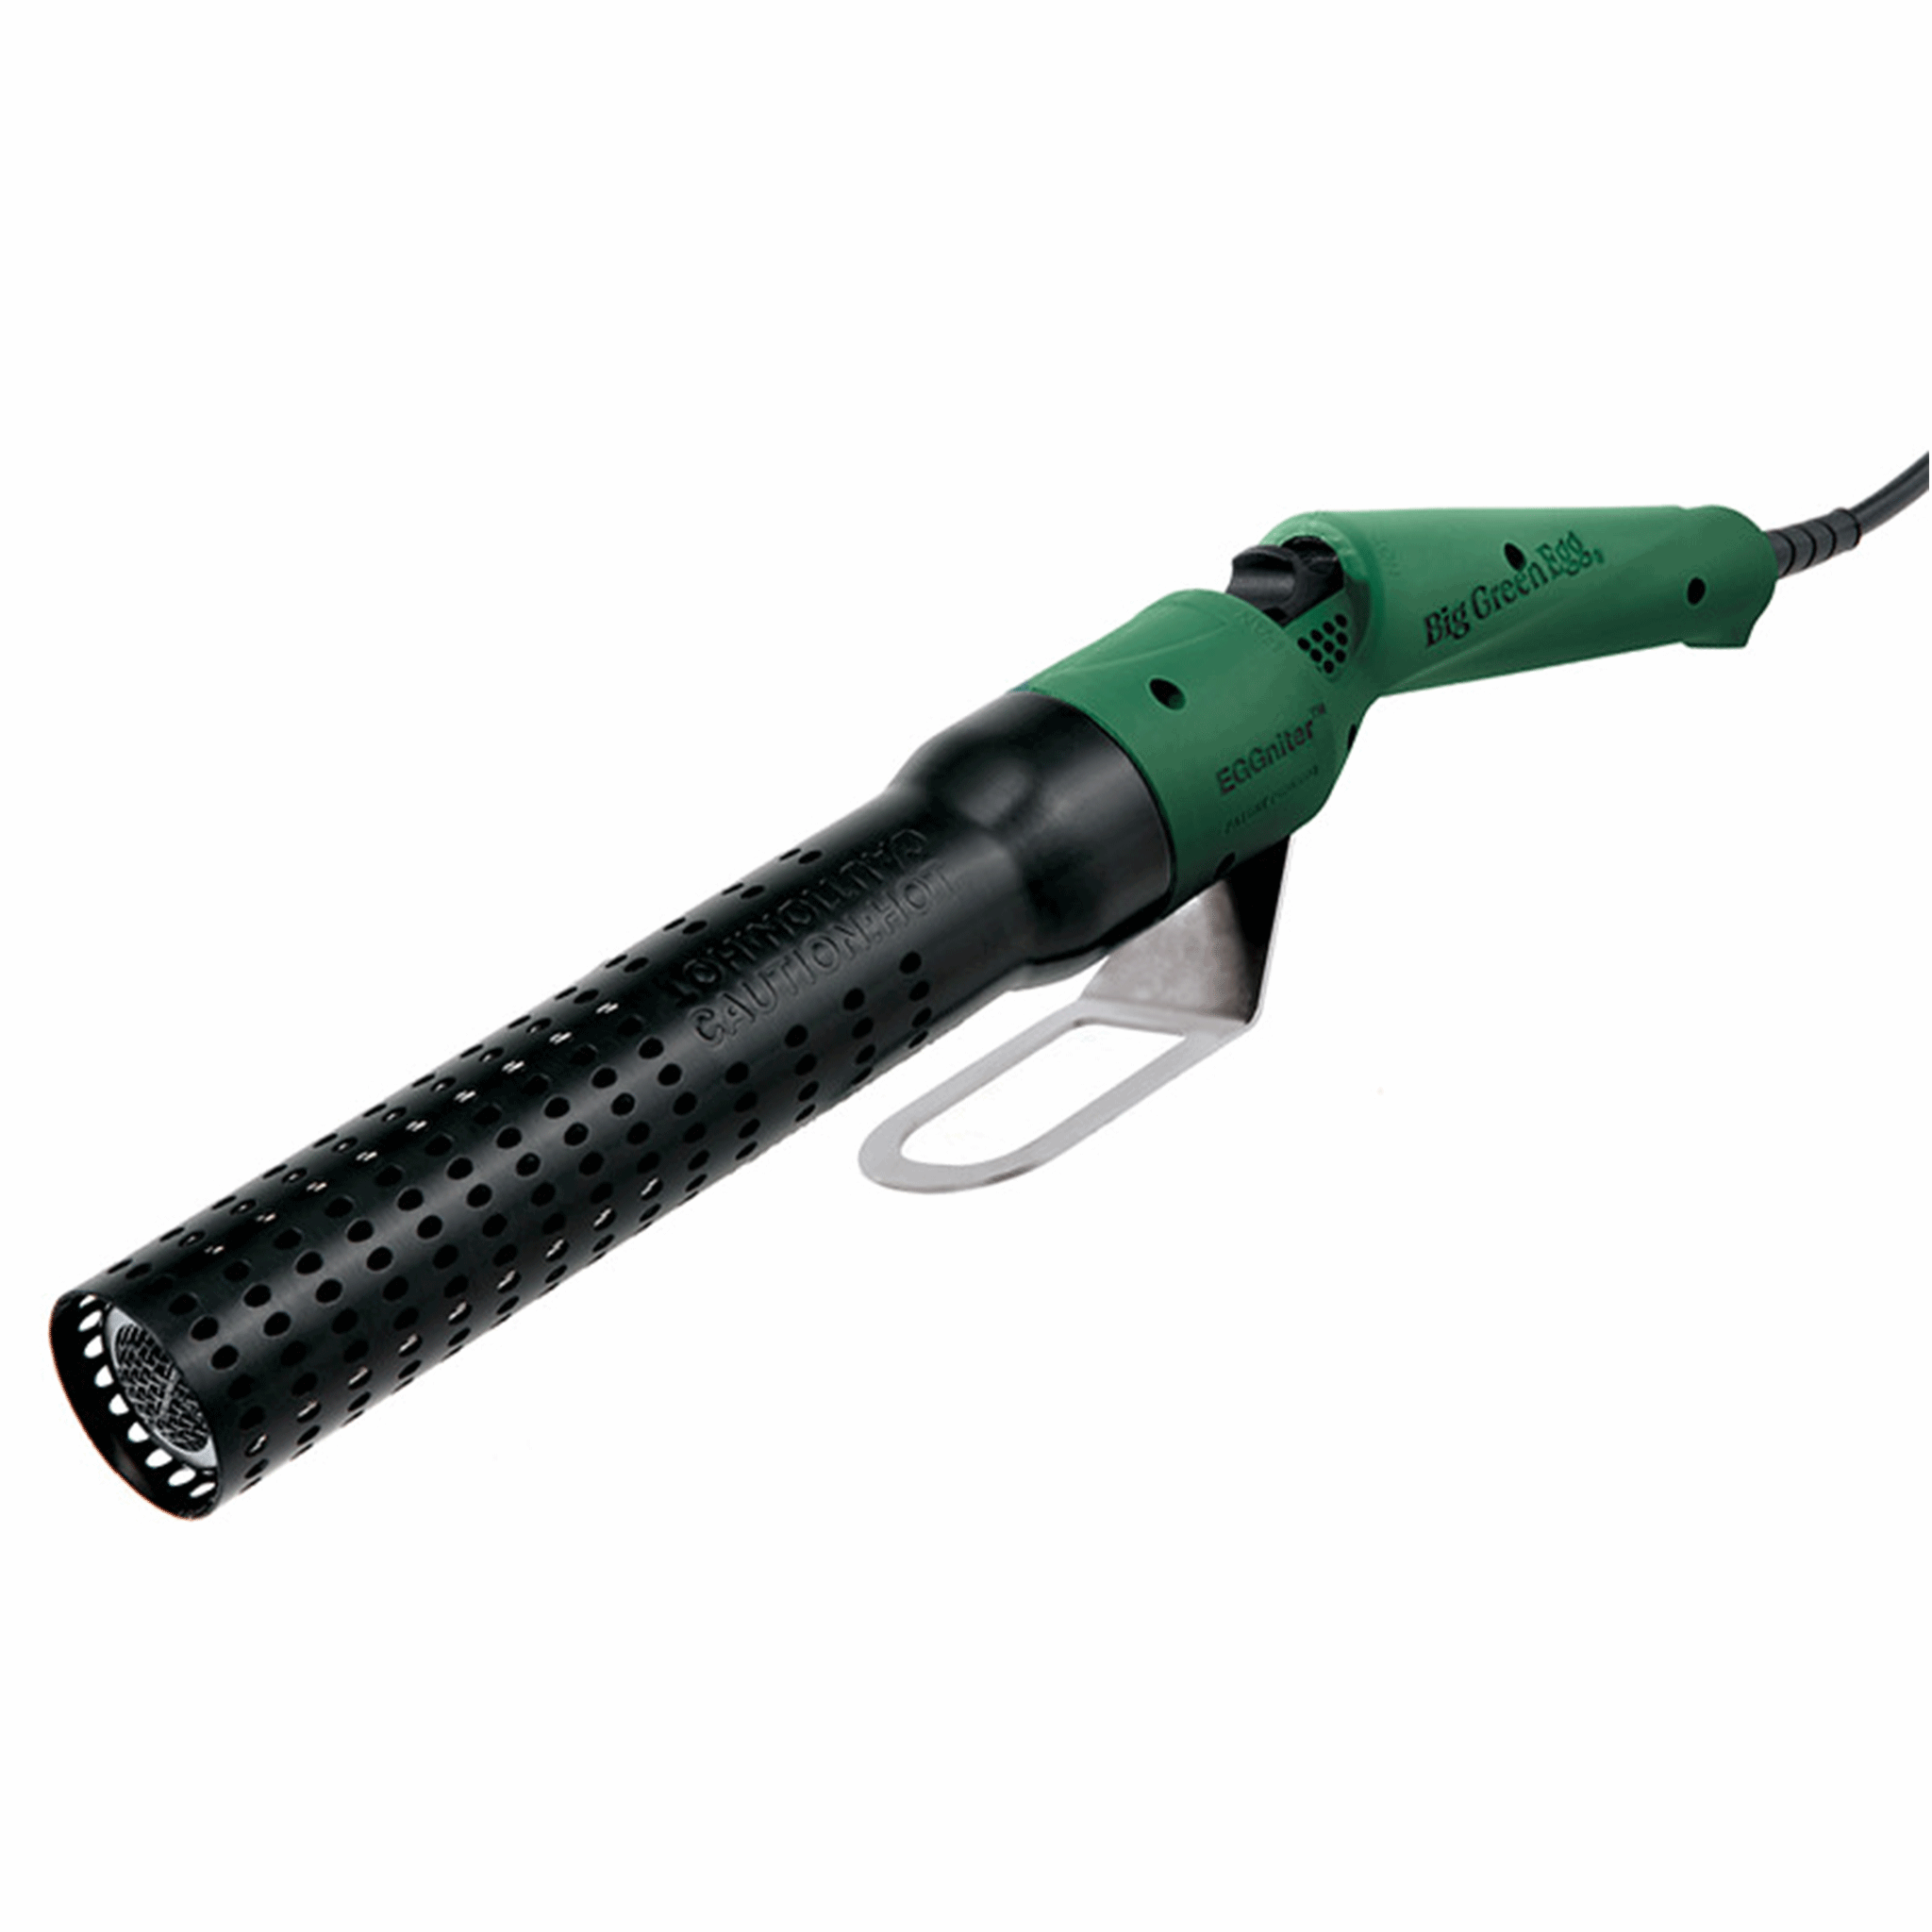
Electric Charcoal Starter
Metallic electric starter tool with a black handle and cord on a white background

Electric Charcoal Starter

Place the heating element in the charcoal and let the starter do the work. The electric starter lights charcoal quickly without matches, paper, or a gas flame.

1. Bury the Element

  • Bury the electric starter’s metal heating element completely in charcoal.
  • Leave the Egg’s dome lid completely open.
Instructional diagram for using a tool to light a Big Green Egg

2. Turn the Starter On

  • Plug the starter into a standard outlet and turn it on.
  • Let the starter heat the charcoal until you see coals begin to glow red.
A simple line drawing shows a power outlet with a plugged-in cord and a green arrow indicating the plug being pulled out, on a white background.

3. Remove the Starter

  • Once coals are established, unplug the electric starter and remove it from the Egg.
  • Place it on a heat-proof surface while it cools.
  • Never leave a hot electric starter unattended.
A black and white line drawing diagram showing a mechanism with a green arrow indicating the lid lifting up, and a green flame icon inside the bowl.
webversion kamado blog

Step Four: Bring Your Egg to Temperature

Once the fire is established, close the dome and adjust the rEGGulator® and Draft Door to reach your target temperature. Keep an eye on the thermometer as the Egg heats up. It’s much easier to add heat than take it away — and an overheated Egg takes a while to cool down.

A man wearing a green cap, sunglasses, a navy long-sleeve shirt, and tan leather grill gloves is tending a ceramic kamado grill outdoors in a sunny backyard.

Step Five: Put In Your Components

If you haven't already added cooking components (like grids or deflectors), add them when the thermometer is within 10 degrees of your target cooking temperature.

Adding a Heat Deflector or Cast Iron Searing Grid will cause temperature to drop slightly, but the Egg will return to temperature as components heat up.

Smoking barbecue grill outdoors with trees in the background

Step Six: Get Cooking

As you approach your target temperature, make small adjustments to the Draft Door and rEGGulator® to fine-tune the heat. Use the temperature guide for reference, and begin cooking once the temperature holds steady.

FAQ

How much charcoal should I put in my Egg?

Add Big Green Egg Natural Lump Charcoal until it reaches 1/2 to 2 inches below the bottom rim of the Fire Ring. This space leaves enough clearance for different cooking surfaces and accessories while giving you a long, even cook.

How long does it take to light a Big Green Egg?

Exact lighting times will vary based on which method you choose to light your Egg, weather conditions, and other environmental factors.

Can I use lighter fluid in my Big Green Egg?

Never use lighter fluid to light your Big Green Egg. Lighter fluid can damage your Egg's ceramics and lead to inconsistent burns

Do I need to empty the ash after every cook?

For best results, remove excess ash before every cook. Removing ash improves airflow to your fire and will help your Egg come up to temperature.

Can I reuse charcoal from my last cook?

Yes. Close the rEGGulator Cap and Draft Door completely after every cook to extinguish the fire. This allows any unburned charcoal to cool down so it can be used the next time you want to cook on your Egg.

Guides

  • Unpacking and Assembling Your Egg

    Unpacking and Assembling Your Egg

    Congratulations on purchasing a Big Green Egg! We exercise great care during the manufacturing and packing processes to facilitate trouble-free assembly. Always use extreme care when moving or loading/unloading an...

    Read more
  • How to Burp Your Egg - Image

    How to Burp Your Egg

    Open with Care and Style When it’s time to dive into a delicious cook, remember to treat your Big Green Egg with a little respect! Start by 'burping' your Egg—this...

    Read more